Overall thoughts:
I thought that this puzzle-based level was very clever, and exploited some of the quirks of the SMW engine to good effect. However, I didn't really have any trouble figuring out these puzzles. It's probably a consequence of having played so many SMW hacks in the past ~15 years (especially hacks with stages that exploit vanilla mechanics) that I've gained so much knowledge of the engine, and so I've been conditioned to approach these types of SMW puzzles in a certain way. I am sure that someone who's relatively new to SMW hacks will struggle a lot more with this one. Thankfully, the level isn't punishing, and once you solve a puzzle, it's easy to execute. Your only enemies are the timer (a generous 999 SMW seconds) and the yellow sponge blocks at the end that can crush you. I feel like there should be a way to redo a puzzle quicker, though. Sometimes you have to walk all the way from one side of the level to the other in order to go through a reset pipe (i.e., the section where you have to guide a beet with turn blocks). And also, when you fall into a pit, the teleport blocks take you back to the previous room instead of restarting you in the same room (but this is probably done for technical reasons).
There was a graphical glitch that kept happening - whenever I would hit a turn block, the top row of the screen would briefly flicker. I tested this in both bsnes v115 and Snes9x v1.60. Also, the default Yoshi message is shown when you feed a Baby Catnip for the first time. I assume this will be fixed later.
My favorite puzzle was for the 3-Up beet. You had to think outside the box for that one. Also, I appreciate that the timer is set to 999 instead of 0. Personally, I like it when people put timers in their levels, because in general, it's a good, quick way to gauge a level's potential length. Also, I do like to casually speedrun sometimes, and it provides a simple means to tell you how fast you're going through a level in-game.
Time: 999
Difficulty: 2/5
Detailed comments:
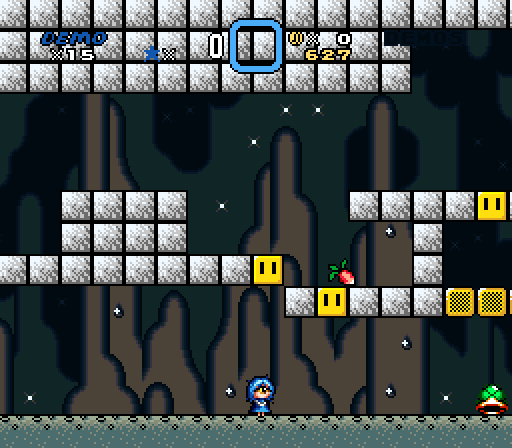
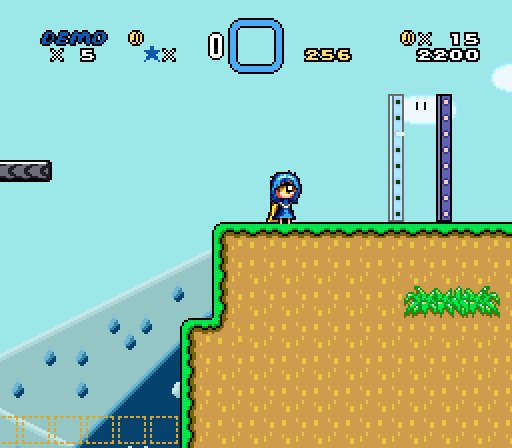
Section 1 (level start):
The yellow bar at the start filters you to Small Demo and removes your reserve powerup. Is this a standard convention in modern SMW hacking (removing your reserve powerup as well)? To get to the left door (the secret exit room), the first thing I tried was to cross the barrier with a reserve powerup, and that's when I learned that your reserve gets filtered out, too.
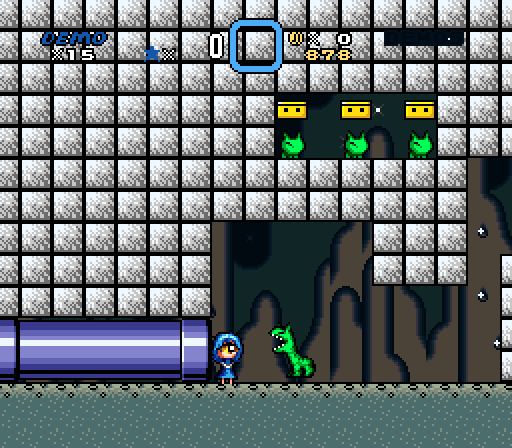
Section 2 (beet guiding):
If you throw the shell up to the left side of the right Catnip, or the right side of the left Catnip, it will still activate the turn block when they eat the shell. Also, the very first turn block I hit can still launch the beet, even after it falls into the pit. Were these intentional?
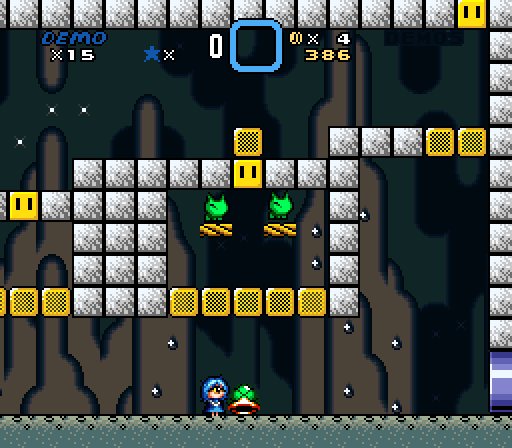
This is rare and probably not a big deal, but if you dupe a block above these Catnips, then this will happen.
If you do a running jump here, it reveals that there are two blocks at the top. Normally, you can only see the bottom block.
Would it be possible to have a quicker retry if you lose your shell? You have to go all the way to the left side of the level, go up the pipe, and then back down the pipe again to retry.
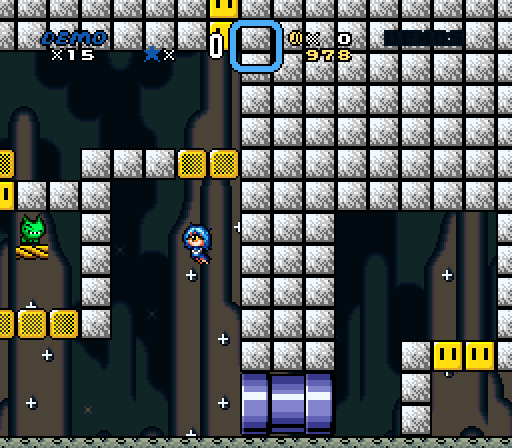
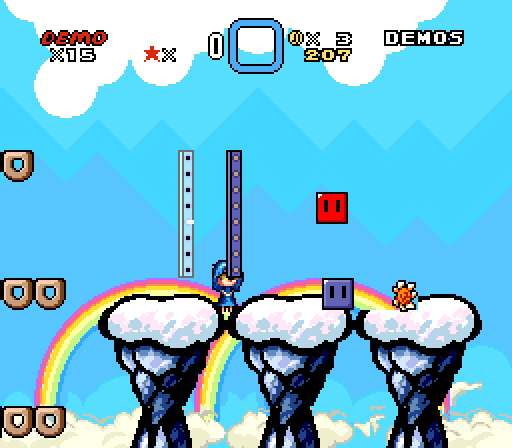
Section 3 (falling platform):
If you duck under the turn block and mount Catnip when Big Demo, you will fall through the floor and die. But this is on the player though (and not that easy to do anyway).
Minor: Catnip disappears briefly when you go through the scrolling pipes.
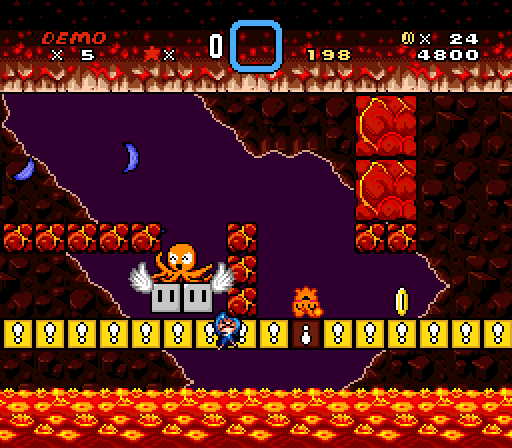
Section 6 (yellow sponge blocks):
If you touch the Goal Sphere while holding a Baby Catnip, Demo will keep kicking it around during the fanfare. I just thought it was funny.


 #1 mega cd enjoyer AND "making fun of"-er


 .
.


 │
│ │
│ │
│ │
│ |
|  |
| 
